Urban planners, landscape architects, architects, and designers of all kinds use renderings as a way to show clients conceptual ideas for a given space. This allows the audience to visualize a range of elements from aesthetics to function. While every firm and individual has a unique approach to developing a render, the mechanics are relatively the same. Here are my five tips for producing a rendering.
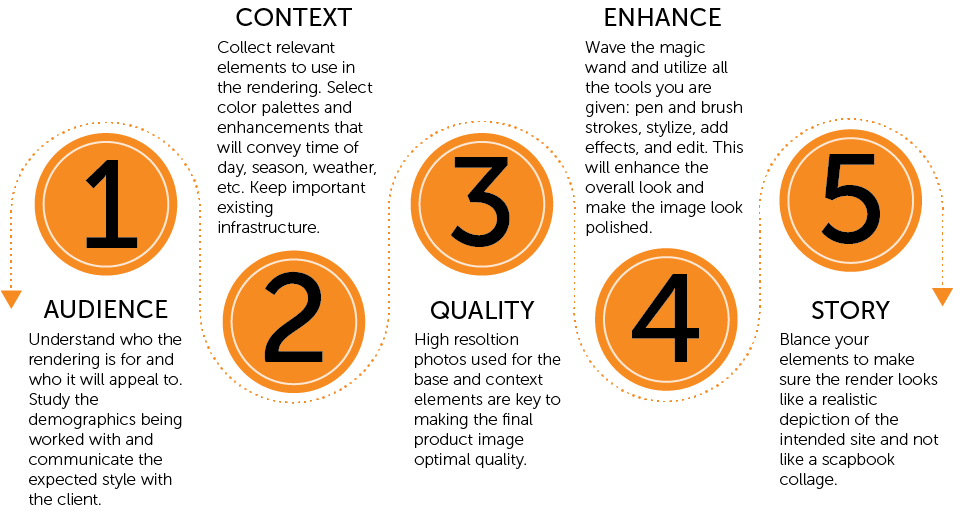
1.Understanding Your Audience
Knowing who will be interacting with the design is key to collecting the information needed to add to the rendering itself and provides insight on how to make the image appealing to a target audience. This is the time to hone into the demographics that are affected by the space so that you, as the designer, can ensure all necessary elements are included and conveyed. This step also encourages understanding the client and responding accordingly to the style that is requested and determining if the rendering needs to reflect high-end or mid-scale design.
2. Interpret Your Context
Context refers to all the elements that help to set the scene. Here you want to focus on style, time, location, and history. Establishing a style helps to show consistency over the course of your work and throughout multiple renderings that might be for one project. Style also serves as a base for the rendering because you set the overall colors, tone, and mood that you want to portray. Determining the time is essential to depict a specific time of day, season, or even a weather scenario. Sometimes the render needs to show the parallels of a space between day and nighttime or winter versus summer. Location is also important to understanding the contours of the land or, again, the weather. This is more important when it comes to selecting your elements and people that will be placed in the rendering. Think: it would be silly to have a snowman on a tropical beach. Lastly, history also plays a role when thinking about historic districts, adaptive reuse, or preservation. Often 3D software is used to develop buildings prior to 2D renderings being curated. If that action has been done, it is important in the 3D platform to keep the building or street that is targeted for historic purposes.
3. Export Quality Resolution
For those who are not familiar with the rendering-making process, designers often collect elements such as people, furniture, textures, vegetation, and more before editing them into the rendering. Selecting quality images with a high resolution for your elements leads to a strong image. You also want to make sure that your renderings are exported in high resolution as well so that the final product is clear on any platforms used to display it. People who frequently produce renderings find that PNGs are easiest to work with for elements while JPGs are best to work with as a base image.
4. Color and Enhance
Renderings are mostly created using Adobe applications, primarily Adobe Photoshop. These products come with a wonderful pack of tools that can really help to strengthen the look of the rendering and, to put it simply, make it pretty! Utilize all that is given to you: pen and brush tools, filters, stylize options, and other editing options like exposure, temperature, saturation, vibrancy, contrast, curves, etc. It is also important to choose a color theme. Typically one bold color is used with a few complementary colors to draw the eye to important elements and highlight details.
5. Paint a Clear Story
The saying “too much of one thing is not good” applies to renderings too. During the process of adding elements, applying edits, and highlighting with color it is possible to get too carried away with the “crafting.” Be aware of elements added in the foreground and background and adjust their scale appropriately. If “increased vegetation” is one of the required adjustments to a site and perhaps you want to add trees, it’s important to make sure you don’t add too many that suggests a forest. You want things to look realistic and not like a scrapbook type collage.